At our recent open day, we showcased how to fit a Blinc Light to a vehicle, demonstrating the straightforward yet effective installation process.
Step 1: Preparing the Vehicle
We began by preparing the rear of the vehicle, ensuring a clean and suitable surface for installation.
Step 2: Applying the Blinc Light
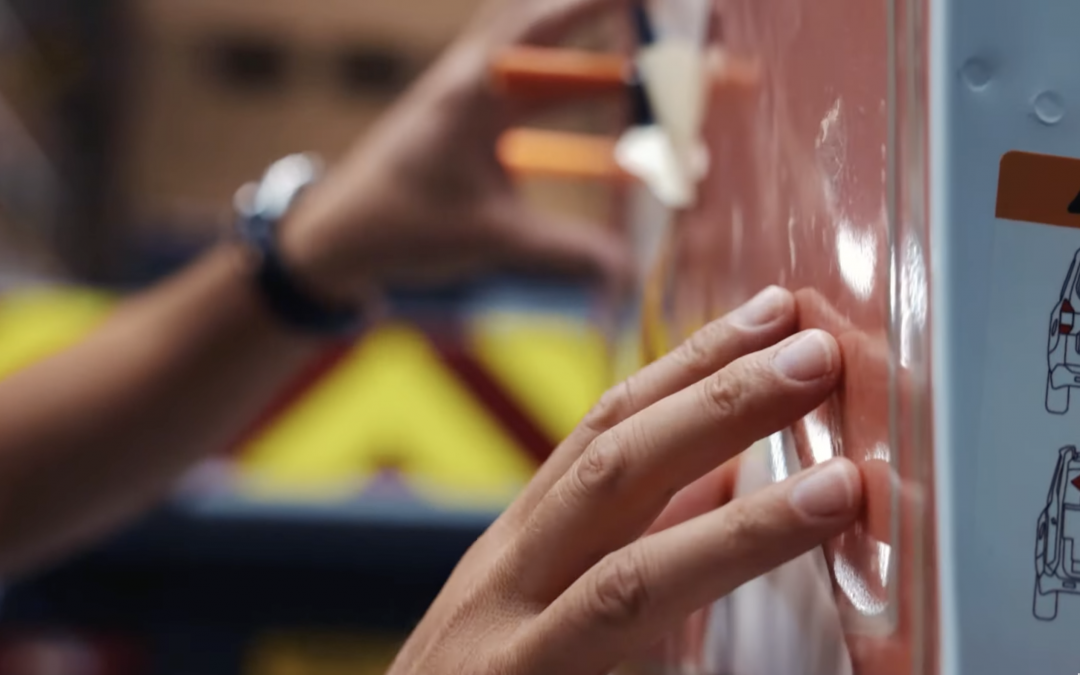
Next, we securely adhered the Blinc Light underlay to the vehicle’s surface. This innovative system sits beneath regular Chapter 8 chevrons and, when activated, illuminates the red chevrons for enhanced visibility.
The red sections of the chevrons are made from 3M DG 4000 series Diamond Grade Red material, providing high reflectivity, while the non-illuminated portions use standard yellow/green fluorescent vinyl for compliance with safety regulations.
Step 3: Adding the Chevrons
Once the Blinc Light was in place, we applied the standard Chapter 8-compliant chevrons on top. These chevron stripes are at least 150mm wide (or larger for bigger vehicles) and angled between 45°–60°, ensuring full compliance with safety guidelines.
Step 4: Wiring and Activation
The final step involved wiring the Blinc Light system and installing a switch inside the cab. For roadside recovery operators, we also fitted an interlock system, allowing the Blinc Light to operate in flashing mode when the vehicle is stationary.
Ready for the Road
The entire installation process took approximately one hour, after which the van was fully equipped and ready to hit the road—enhancing safety and visibility for operators working in high-risk environments.
Get in touch by using either the form below or by using the details shown.